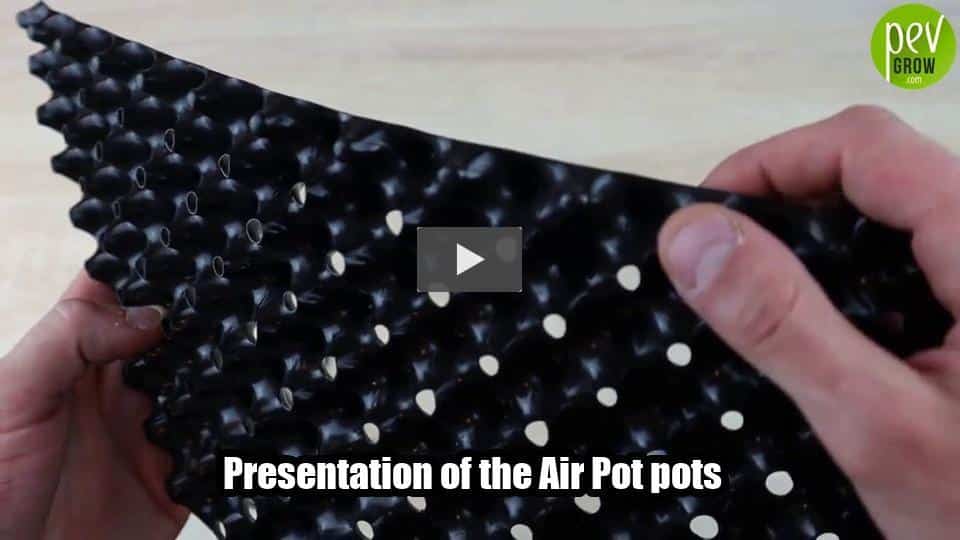
This video introduces the Air Pot pots, highlighting their benefits for healthy root development and plant growth, along with a step-by-step assembly guide.
Hey friends and welcome to Pevgrow. Today, we have a short video to introduce you to the Air Pot pots.
As you know, plants need healthy roots, and standards causing them to become tangled seriously compromises the plant’s health. The Air Pot does the exact opposite; it actively strengthens the plant by allowing it to develop a healthy mass of fibrous roots in well-aerated soil. This optimizes its ability to absorb nutrients and water, leading to a healthy plant with faster growth.
So, that’s how the roots behave inside the pot. The roots will grow steadily until they touch the cones inside the pot. These cones will guide the roots towards the surrounding air, allowing for natural root sizing, which will encourage root branching all the way down to the base of the trunk. The process repeats itself, and the plant quickly develops a mass of fibrous roots that grow outward, which will be very useful for repotting. The roots grow all at once from the root mass and quickly adapt to their new site.
So now, let’s move on to the assembly. First, we need to find the right side. The side with the cut spikes is the outside of the pot, and the side with the uncut spikes is the inside of the pot. Now, we’re going to identify the top and bottom of the pot. On the side where the spikes are cut, you’ll notice that at the top, there’s a row of spikes that are not cut. That’s what will tell us that this is the top of the pot.
Now, we’re going to install the bottom of the pot. Be careful not to get the side wrong. Anyway, it says ‘top’ on it. This is the side that’s inside the pot facing up, and this is simply the side that goes towards the ground.
We take our strip of Air Pots, ensuring that we have everything we need and all components are in place. We make sure that we’re at the top level, checking all settings and configurations thoroughly.
- We’re going to place our little cup in the row at the bottom, aligning it carefully and precisely.
- Then, we’re just going to close it up, making sure everything is secure and properly fastened.
- Using the small screw, we’re going to screw it into one of the little holes.
And there you go, your Air Pot is ready!
I hope you enjoyed this video. If you did, feel free to subscribe, like, or share. And don’t forget to check out our website. We will see you very soon for the next video!


