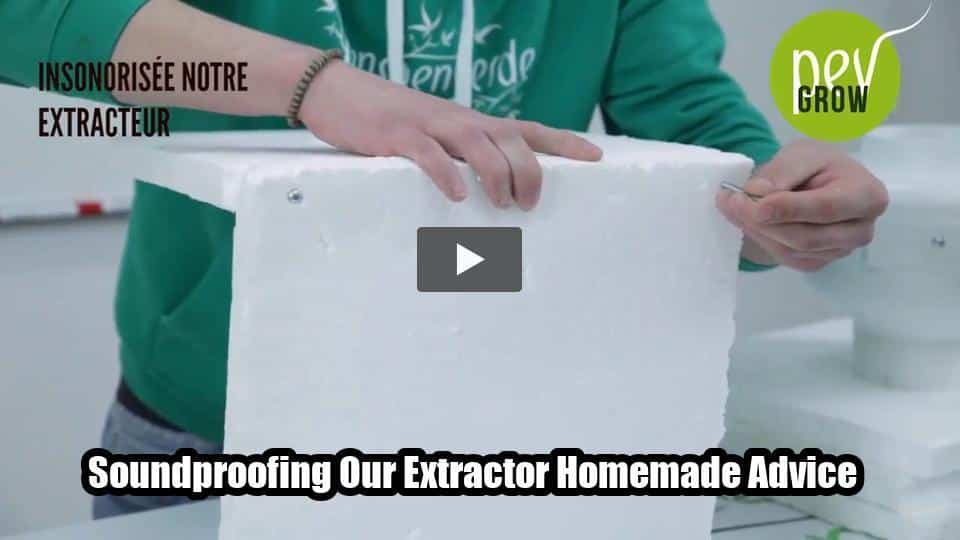


This video provides a quick and cost-effective guide on how to soundproof your extractor using cork panels and simple assembly techniques.
Hey there, my dear friends! Welcome to Pevgrow. Today, I have a quick little tip on how you can effectively soundproof your extractor. It’s very simple, so we’re going to make a box with cork panels. We will need six of them. We will take two of them and make a hole in the center.
How do we make the hole? It’s very simple! We’re going to place the extractor in the middle, make a mark, and then, with a cutter, we’ll just cut along the mark. And we’ll have our home front back.
Now, let’s move on to the assembly. As I mentioned, oh yes, sorry for that. Everything we need, as I told you, is going to be very simple and very cost-effective. So, let’s get started!
Firstly, we are going to start with the base, which will be this one, and we are going to attach the front. This is an important step. So, when you’re all alone, I recommend taking a screw. Make sure the screws are long enough, and we don’t even need a screwdriver or a hammer; just by hand, simply by hand, we just have to put them in. There you go, done!
For the second one, here’s our second screw. It’s the same operation for the back. As you can see, I broke the side of it, but that’s not a problem because, afterward, with some duct tape, we’re going to put it on all four sides for better stability.
Now, I have one, and that goes in by itself! So, here we have the front and the base, even though this picture is a bit chaotic, as you can clearly see, now the box is completely ready and prepared for the next step. We just need to carefully insert the extractor into its designated place and securely close it.
To properly put in the extractor, I highly recommend starting with the tube and gently passing it through the opening. This method will make the process much easier and more efficient. As you can see, it’s very simple—it goes right into place because we made the holes well.
There we go! It stays in place. The foam I mentioned at the beginning is going to be placed inside. It’s going to help us soundproof even more. All that’s left to do is put the top on the tube.