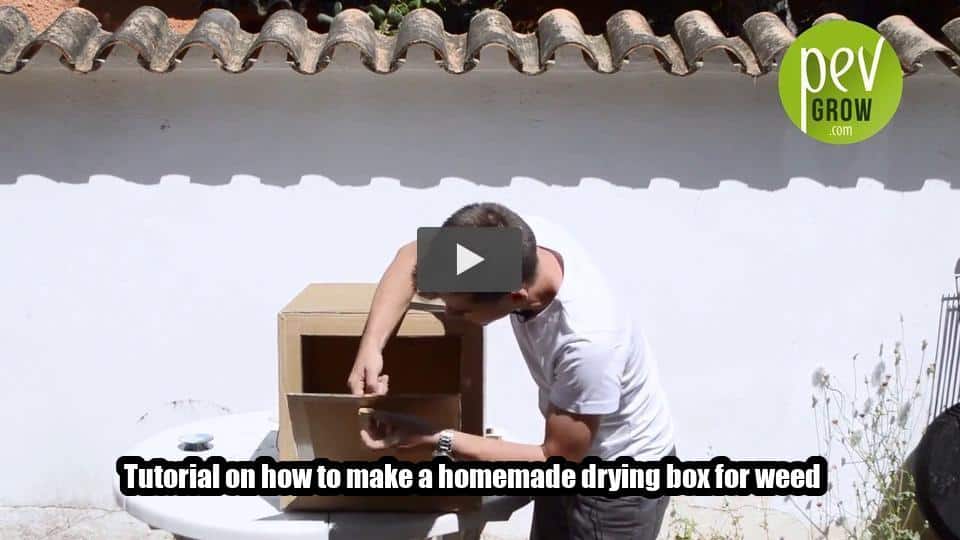


This video tutorial demonstrates a simple and affordable way to create a homemade drying box for marijuana after harvest, using easy-to-find materials.
Welcome a Elk Grove. I’m going to explain how to make a drying box to dry marijuana once we’ve done the harvest, but in a very simple, quick, and super affordable way.
What do we do first? We’re going for a walk to look for a box. We have the box, and depending on the amount we have, this one is very big and also a bit damaged, so this one won’t work. I like this little one.
The first thing we need to do is close the flaps, okay? So that we end up with a cube. We need to look around the house for materials. We don’t want any gaps to get in, so we have to do it carefully and properly along the sides. As we said, once we have all the sides well sealed, we end up with a cube.
Next, we’re going to make a little window. First, let’s mark the four points with the ruler. We leave a space of about 4 cm from side to side, from point to point. To begin with, here we need to make sure that the line is as perfectly straight as possible, ensuring clarity and precision. Remember, it will not become a door until we have carefully and meticulously cut it.
We’re going to reinforce all of this. Let’s not forget that it’s cardboard, so the more we reinforce it, and the sturdier it is, the better. With the same tape, we’re going to put it here, here, here, here, here, and here—all well reinforced so it stays sturdy. If we need to put on two layers, we’ll do that.
What are we going to do now? Look, we’re going to a computer store, and we’re buying a regular computer fan. It’s just this; it doesn’t have to be new. I bought it because I’m not picky, but if you have a tower you no longer use or some old device that has this system, you can use that.
I’m keeping this as a template. Neither a ruler nor anything, let’s see slowly. We’re going to cut it at a very slow and steady pace. Very slowly—precision and accuracy!
This is what it looks like on the inside, and on the other side, right across from the fan, we’ve made a rectangle the width of the fan, more or less, so that it lets the air flow. Let the air flow! Let the air flow!
We have the fan installed; a little ventilation window is also in place, and the little door is ready. We’re going to do a little thing that’s kind of silly, but hey, it’s cool—we’re going to make a knob!
To make it easier to open and close, we’re going to make a little hole, and with a piece of cardboard that we have left over, we’re going to put it in with a little tape. That’s it! Better.
When it comes to passing it through the box, it’s much easier. We can fit up to three—look, one more, two or three are fine.
Now, it’s time for push pins and thread. We’re going to leave some space—just a little bit of space—and we mark it with the push pin, then take the thread and pass it through. Now, more or less at the same distance on the other side—I’m over there. You can write whatever you want in the comments; I’m not interested in knowing that.
To ensure it is securely fastened, we make several times around the objects, which helps to hold it firmly in place. By doing this, we can be confident that the item is stable and will not come loose easily.
We’re going to take tape and grab it from the home—everything, all the thread and everything is well glued now.
That’s done! Everything is finished. Well, I hope you comment on how it went for you and give me a like. See you!